
So, grilling season is over, and your trusty BBQ is probably looking a little worse for wear. Before you just shove it in the garage and forget about it until spring, there are a few things you should do. Proper care now means less hassle later and a grill that’s ready to go when you are. Let’s talk about some simple bbq maintenance and storage tips to keep your grill in good shape.
Key Takeaways
- Give your grill a good, deep clean at the end of the season. This means scrubbing grates, cleaning out the grease trap, and wiping down all surfaces to get rid of food bits and grease.
- Inspect everything for damage. Look for rust, check hoses for cracks on gas grills, and make sure burner tubes aren’t clogged. Fix or replace anything that looks worn out.
- Protect the parts that can rust. A light coat of cooking oil on the grates can make a big difference. For charcoal, keep it dry.
- Find a good spot for storage. A covered, dry place is best. If it’s outside, try to keep it off the ground. And always use a grill cover, especially if it’s going to be exposed to the weather.
- For gas grills, disconnect and store the propane tank separately in a well-ventilated area. Never store propane tanks inside.
Prepare Your Grill For Storage
Before you tuck your grill away for the chilly months, giving it a good once-over is a smart move. Think of it like putting your car away for winter – a little prep work now means a smoother start next spring. This isn’t just about making it look nice; it’s about protecting your investment and making sure it’s ready to go when the grilling season rolls around again.
Conduct A Thorough Deep Clean
This is probably the most important step. Grease and food bits left behind can turn into a sticky, corrosive mess over time, attracting pests and making your first cookout of next season a real chore. You want to get rid of all that gunk.
- Scrape down the interior: Use a grill brush to get all the charred bits off the inside walls and the bottom of the cookbox. Don’t forget the underside of the lid.
- Clean the grates and flavorizer bars/heat deflectors: Remove these and give them a good scrub. Warm, soapy water usually does the trick. Make sure they’re completely dry before putting them back or storing them.
- Wipe down the exterior: Give the outside of your grill a good clean too. This gets rid of any spills or splatters.
Inspect All Components For Wear And Tear
While you’ve got everything apart for cleaning, take a good look at all the parts. This is your chance to spot any issues before they become bigger problems.
- Burners: Check for any signs of corrosion or blockages. You can use a small brush or even a paperclip to gently clear out any holes that look clogged.
- Ignition system: Give the igniter a test. If it’s not sparking reliably, it might need a clean or a new battery.
- Hoses and connections (for gas grills): Look for any cracks, brittleness, or signs of wear on the gas hoses. Make sure all connections are secure.
Address Any Rust Or Damage
Rust is the enemy of any outdoor equipment, and your grill is no exception. Catching it early is key.
- Minor rust spots: For small areas of surface rust, you can often scrub it away with steel wool or a wire brush. After cleaning, wipe the area down and consider applying a thin coat of cooking oil to prevent it from returning.
- Deeper rust or damage: If you find significant rust or any parts that are badly damaged or warped, it might be time to consider replacing them. Check your grill’s manual or the manufacturer’s website for replacement part information.
Leaving your grill dirty and exposed to the elements over winter is a recipe for rust and potential pest problems. A little effort now saves you headaches later.
Essential Cleaning For Offseason Bbq Maintenance
Alright, so before we tuck our trusty grills away for the winter, there’s a bit of cleaning that really makes a difference. Think of it like giving your grill a good bath and a tidy-up before it goes to sleep. It’s not just about making it look nice; it’s about protecting it from the elements and making sure it fires up without a hitch next spring.
Clean Grates and Racks After Every Use
This is one of those things that sounds obvious, but honestly, who always does it? Still, it’s super important. Food bits and grease left on the grates can turn into a sticky, hard-to-remove mess if left to sit. Plus, they can become a breeding ground for all sorts of unpleasantness. A quick scrub while the grates are still warm after you’re done cooking is your best bet. You can use a good grill brush for this. If you let it go, you’ll be dealing with a much tougher job later.
- Scrape off large food particles while the grates are still hot.
- Use a sturdy grill brush (wire or bristle-free, depending on your grate material) to get rid of stuck-on bits.
- Wipe down with a damp cloth once they’ve cooled a bit to pick up any remaining residue.
Scrub Burners and Heat Deflectors
These parts are the workhorses of your grill, and they collect a lot of gunk. Burner tubes can get clogged with food debris or even spiderwebs, which messes with the flame and heat distribution. Heat deflectors, or flavorizer bars, catch grease and drippings, and if they’re caked on, they won’t do their job of vaporizing those drippings into smoky flavor. A good scrub with warm, soapy water and a nylon brush usually does the trick. Just make sure everything is completely dry before you put it back or store it.
Empty Grease Trays and Ash Catchers
This is a big one, especially for gas grills with their grease trays. If you leave that greasy mess in there all winter, it can get rancid, attract pests, and even become a fire hazard if you forget to clean it before your first cookout of the next season. For charcoal grills, get rid of all the ash. Ash can hold moisture, which can lead to rust and corrosion. So, dump it out, give the tray or catcher a good wash with soap and water, and make sure it’s bone dry before storing.
Leaving grease and ash to sit over the winter is just asking for trouble. It can corrode metal parts, attract unwanted critters, and make your first cookout of the next season a real chore to get ready for. A little effort now saves a lot of hassle later.
Doing these cleaning steps thoroughly before you cover up your grill will make a world of difference when it’s time to fire it up again. It’s all about protecting your investment and ensuring delicious meals for years to come.
Protecting Grill Components During Storage
Alright, so your grill is clean and ready for its long nap. Now, let’s talk about keeping those parts in good shape while it’s tucked away. It’s not just about throwing a cover on and forgetting about it.
Apply Protective Oil Coating to Grates
Think of this like a little spa treatment for your grates. After you’ve given them a good scrub, a light coating of cooking oil can really help prevent rust from setting in, especially if you live somewhere damp. Just grab some vegetable oil or any high-heat cooking oil you have lying around. Use a paper towel to wipe a thin, even layer over the entire grate surface. You don’t need much, just enough to create a barrier. This simple step makes a big difference when you pull your grill out next season.
Clean and Store Propane Tanks Separately
This is a big one, folks. If you have a gas grill, you absolutely need to disconnect the propane tank before storing the grill. Never store a propane tank indoors. Seriously, it’s a safety hazard. Find a cool, dry, well-ventilated spot outside, like a shed or a covered patio, away from any open flames or ignition sources. Make sure the tank valve is turned off completely. Keeping the tank separate also makes it easier to move your grill if needed.
Prevent Moisture Absorption in Charcoal Storage
For those of you rocking a charcoal grill, moisture is the enemy of your briquettes. If your charcoal gets damp, it’s going to be a real pain to light when grilling season rolls around again. The best way to avoid this is to store your charcoal in an airtight container. A plastic bin with a good seal or even the original bag if it’s still in decent shape, placed inside another container, works well. This keeps humidity out and your charcoal ready for action.
Storing your grill properly isn’t just about making it look good. It’s about protecting your investment and making sure it’s ready to go when you are. A little bit of effort now saves a lot of headaches later.
Choosing The Right Storage Location
Alright, so you’ve cleaned your grill up and it’s looking pretty spiffy. Now, where do you actually put this thing so it stays in good shape? It really matters where you stash your grill when it’s not in use, especially during those long, cold months. You don’t want to just shove it in a corner and forget about it.
Opt For A Covered And Dry Space
This is probably the most important thing. Think about it: rain, snow, sleet – none of that is good for metal. A covered spot, like a sturdy shed, a covered patio, or even a garage, is ideal. The goal is to keep it shielded from direct precipitation and excessive moisture. If you can’t get it completely indoors, at least make sure it’s under some kind of roof. A good quality grill cover is a must, but it works best when it’s not constantly getting soaked.
Keep Grills Away From Ground Exposure
Even if your grill is covered, try not to let it sit directly on the ground. Why? Well, the ground can be damp, and that moisture can creep up into the grill’s legs and base, leading to rust. Plus, it makes it easier for little critters to decide your grill is their new winter condo. Elevating it slightly, maybe on a couple of sturdy blocks or even just a thick piece of plywood, can make a big difference. It helps with airflow too, which is always a good thing.
Consider Indoor Storage If Possible
If you’ve got the space, bringing your grill inside is the ultimate protection. Garages are great for this. Just remember, if you have a gas grill, you absolutely cannot store the propane tank indoors. That’s a big safety no-no. The tank needs to be stored separately in a well-ventilated outdoor area. But the grill itself? Bringing it inside means it’s safe from the elements, pests, and accidental bumps. It’s like giving your grill its own little vacation home until the weather warms up again.
Utilizing Grill Covers For Protection
Invest In A High-Quality Grill Cover
Okay, so you’ve cleaned your grill up, maybe even given it a little oil treatment. Now what? If your grill is going to live outside during the off-season, you absolutely need a good cover. I learned this the hard way a few years back. I bought a cheap grill, skipped the cover because, hey, it was just a few bucks, and by the next spring? It was a rusty mess. Seriously, it looked like it had been through a war. Don’t make my mistake. A decent cover is like a good raincoat for your grill – it keeps the bad stuff out.
Ensure The Cover Protects From Elements
When you’re picking out a cover, don’t just grab the first one you see. Think about what you need it to do. You want something that’s going to keep out rain, snow, and that general grime that seems to settle on everything left outside. A cover that fits well is key. If it’s too loose, wind can get underneath and rip it off, or it won’t seal properly. Look for covers made from durable, waterproof material. Some even have vents to help with airflow, which can be a nice bonus.
Here’s a quick rundown of what to look for:
- Material: Heavy-duty, waterproof fabric is best.
- Fit: Snug but not too tight. Make sure it covers the entire grill.
- Fasteners: Straps or drawstrings help keep it secure in windy conditions.
- UV Protection: If your grill sits in direct sun, this can prevent the cover from degrading quickly.
Prevent Wildlife And Pest Infestation
This is a big one, especially if you live anywhere with critters. A grill left uncovered can look like a five-star hotel for mice, spiders, or even birds looking for a cozy winter home. They can chew through things, leave messes, and generally make a nuisance of themselves. A good, secure cover acts as a barrier. It’s not just about keeping the weather off; it’s about keeping unwanted guests out. Make sure the cover fits snugly around the base, and if you have any openings, consider blocking them off with something temporary before putting the cover on. You don’t want to open up your grill in the spring to find it’s become a rodent’s condo.
Leaving your grill exposed to the elements and potential pests is a recipe for disaster. A quality cover is a simple yet effective way to protect your investment and ensure it’s ready to go when grilling season rolls around again.
Addressing Common Grill Issues Before Storage
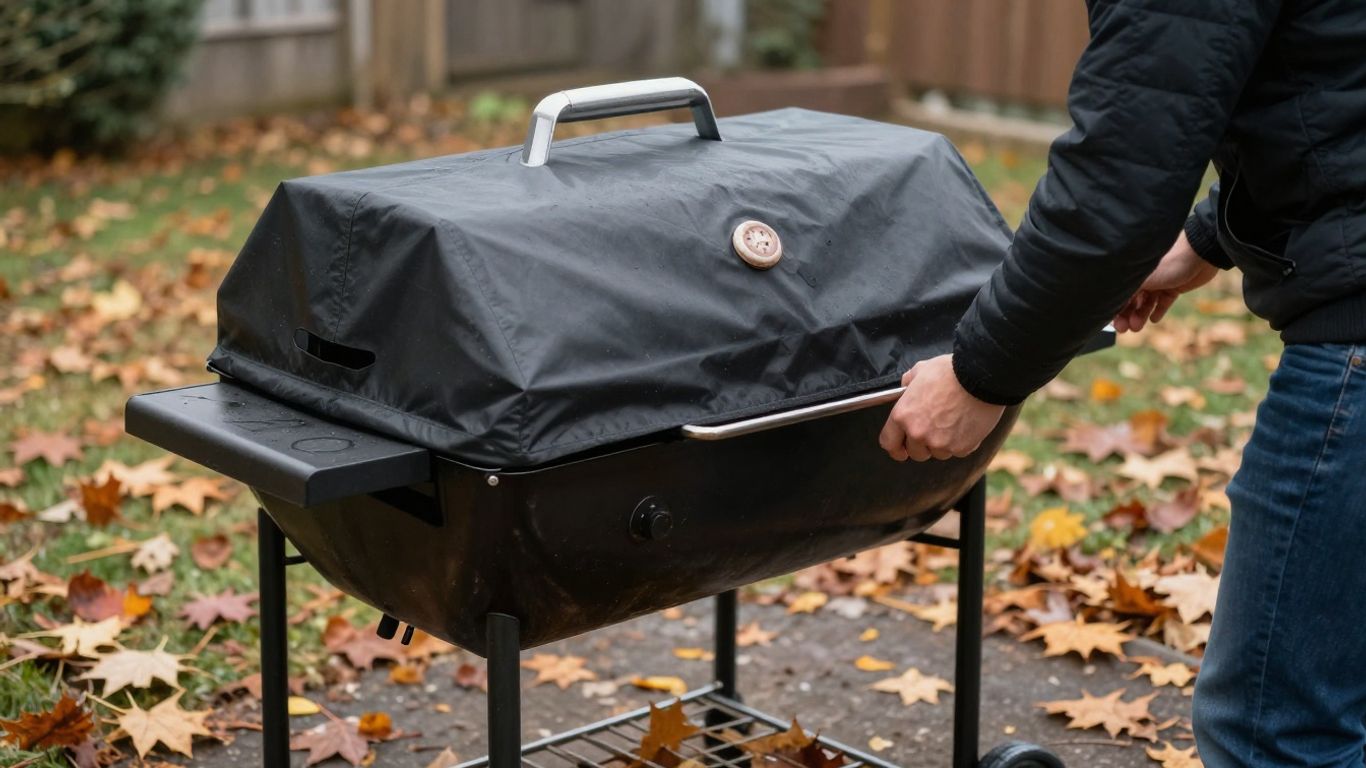
Before you tuck your grill away for the chilly months, take a little time to address the most common issues—future you will say thanks. Ignoring these small problems now can mean way bigger headaches when grilling season returns.
Test Ignition System Functionality
A grill that won’t ignite can ruin your first cookout next season. Before storing, light up your grill and confirm the ignition button or knob works as expected. If you’re struggling to get that spark or click:
- Check the battery if your ignition uses one.
- Wipe down the ignition electrode with a clean cloth—dirt loves to hide here.
- Listen for the sound of gas flowing (for gas grills).
If your grill still refuses to fire up, it might be time to replace the battery or even the igniter.
Check Hoses For Cracks And Leaks
Don’t let a small hose issue become a safety concern. Especially for gas grills, hoses can lose flexibility and crack as they age. To test for leaks:
- Mix up a little soap and water.
- Apply the solution to all hose connections.
- Turn the gas on and look for bubbles—those mean leaks.
| Inspection Area | What To Check | Next Step If Problem Found |
|---|---|---|
| Gas hoses | Cracks/leaks | Replace faulty hoses |
| Hose connectors | Bubbles | Tighten or reseal connection |
| Regulator | Fittings | Replace if damaged |
A quick bubble test now can avoid an unexpected flare-up—or a wasted propane tank.
Clear Clogged Burner Tubes
If the grill’s heat is spotty or uneven, clogged burners might be the culprit. As cold weather grilling tips suggest, controlling heat is super important, so clear burners make a real difference.
- Remove burner tubes according to your grill’s manual.
- Use a small, stiff brush or pipe cleaner to clear out debris or spider webs.
- Tap out anything stuck inside, then reattach securely.
Double-check all burner holes are clear before storing. This helps with heat control next season and stops rodents from making a home in your grill.
By handling these simple fixes, you’ll dramatically lower the risk of surprise repairs come spring—and you might just avoid the dreaded first-day-of-the-season disappointment. Fixing up your grill now will keep it safe and ready to go when grilling weather finally returns.
Seasonal Bbq Maintenance And Storage Tips
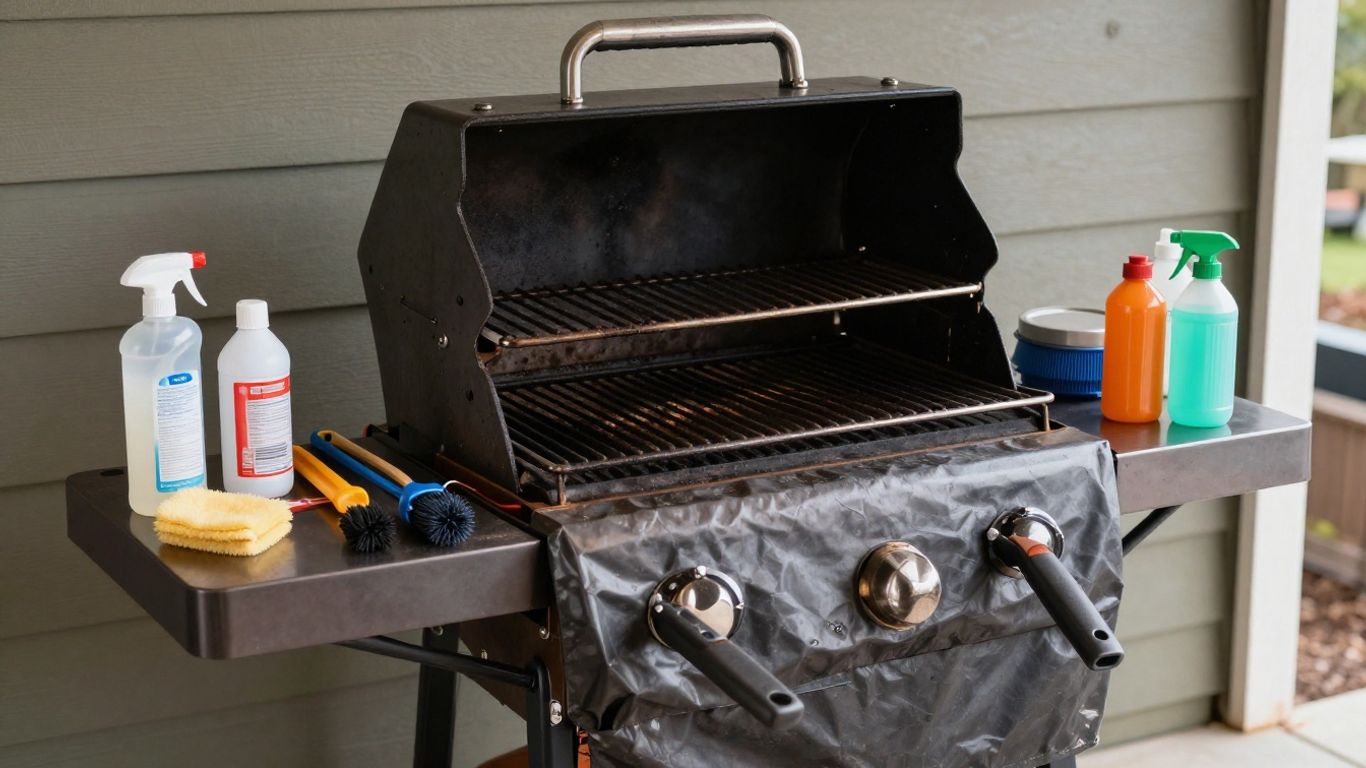
Taking care of your grill when it’s not in use is pretty important if you want it to last. It’s not a super complicated process, but doing it right makes a big difference. Think of it like putting your car away for the winter – you wouldn’t just leave it out in the snow, right?
Perform Deep Cleans At Season’s Start And End
Before you fire up the grill for the first time in spring, give it a good, thorough cleaning. Get rid of any dust, cobwebs, or critter evidence that might have accumulated over the winter. Then, when the grilling season wraps up in the fall, do another deep clean. This is your chance to get rid of all the grease and food bits that can cause problems later on. It’s a bit of work, but it really helps.
- Spring Prep: Focus on getting everything ready for action. Check for any damage that might have happened during storage.
- Fall Cleanup: Remove all food debris and grease. This prevents buildup and makes the next season’s cleaning easier.
- Component Check: While cleaning, inspect burners, grates, and heat deflectors for any signs of wear or damage.
Protect Against Rust And Corrosion
Rust is the enemy of any outdoor equipment, and your grill is no exception. After you’ve done your deep clean, especially at the end of the season, take some steps to keep rust at bay. For gas grills, check the hoses for any cracks or leaks. A simple test is to spray them with soapy water and look for bubbles – if you see them, you’ve got a leak. For both gas and charcoal grills, a light coating of cooking oil on the grates and other metal parts can create a barrier against moisture. This is especially important if you live in a humid area or will be storing the grill outdoors.
Store Properly To Extend Grill Lifespan
Where and how you store your grill makes a huge impact on how long it lasts. The best place is a dry, covered spot, away from the elements. If you can bring it inside a garage or shed, that’s ideal. If it has to stay outside, make sure it’s on a raised surface, not directly on the ground, to avoid water pooling. Always use a good quality grill cover, even if it’s stored indoors. This adds an extra layer of protection against dust, scratches, and any unexpected spills. For gas grills, remember to disconnect the propane tank and store it upright in a well-ventilated area, separate from the grill itself. Charcoal should be kept in a sealed container to keep it dry.
Proper storage isn’t just about keeping your grill looking good; it’s about protecting its functionality. A little effort now means fewer headaches and more delicious meals down the road.
Maintaining Gas Grill Specifics
Alright, so you’ve got a gas grill and you want to make sure it’s in good shape for next season. It’s not super complicated, but there are a few things you really need to pay attention to. Think of it like giving your car an oil change, but for your grill.
Regular Burner Maintenance
First off, those burners. They’re the heart of your grill, right? If they get clogged up with gunk from last season, you’re going to have uneven heat, and nobody wants half their food burnt and the other half barely cooked. You should really clean them out at least once a month during the grilling season, but definitely give them a good once-over before you put the grill away for the winter. You can usually use a small brush or even a thin wire to clear out any blockages in the little holes where the flame comes out. Just make sure the gas is off before you start poking around in there!
Consistent Gas Leak Checks
This one’s for safety, and it’s super important. You gotta check your hoses for any cracks or leaks. The easiest way to do this is to mix up some soapy water and brush it onto the hoses while the gas is on. If you see bubbles forming, that’s a sign you’ve got a leak. Don’t mess around with this; if you find a leak, you’ll need to get it fixed or replace the hose. It’s a good idea to do this check regularly, not just when you’re storing the grill. You can find replacement hoses and other parts at most hardware stores or online.
Proper Propane Tank Storage
When it’s time to store your grill, don’t forget about the propane tank. Always store propane tanks upright in a cool, well-ventilated area, away from any living spaces. Never store them indoors or in a garage where fumes could build up. If you’re disconnecting it for storage, make sure the valve is closed tightly. It’s also a good idea to put a cap on the valve if you have one. This helps prevent any accidental gas release. For more details on disconnecting and storing your tank, check out the manufacturer’s instructions or resources on proper grill preparation.
Keeping your gas grill in good working order involves more than just cleaning the grates. Paying attention to the burners, checking for leaks, and storing the propane tank correctly are key steps to ensuring your grill is safe and ready for action next season.
Maintaining Charcoal Grill Specifics
Frequent Ash Removal
Charcoal grills need a bit of extra attention when it comes to ash. After you’re done cooking and the grill has cooled down completely, it’s time to get rid of that ash. Don’t just leave it sitting there. Leaving ash in the bottom of your grill can actually trap moisture, which isn’t good for the metal. Over time, this moisture can lead to rust and make the ash harden like cement, making it a real pain to clean later on. So, grab a metal bucket and dump out the ashes. It’s a simple step, but it really helps keep your grill in good shape and ensures proper airflow for your next cookout. If you’re looking for ways to make this easier, some folks find that lump charcoal produces less ash than briquettes, which might be something to consider for your next purchase.
Wipe Down Interior Surfaces
Once the ash is out, take a moment to wipe down the inside of your charcoal grill. You’ll likely find some carbon buildup or food residue clinging to the interior surfaces. A good wipe-down with a damp cloth or paper towels will get rid of this. It’s not just about keeping things looking clean; this also helps prevent any lingering grease from causing issues down the line. Think of it as giving your grill a quick spa treatment before it heads into storage. It’s a small effort that pays off in the long run for the overall health of your grill.
Lightly Oil Grates to Prevent Rust
This is a really important step, especially if you live in a humid area or are storing your grill for an extended period. After you’ve cleaned the interior and the grates are dry, apply a very thin layer of cooking oil to them. Vegetable oil or any high-heat cooking oil works just fine. You can use a paper towel to spread it evenly. This oil coating acts as a barrier, protecting the grates from moisture and preventing rust from forming. Rust on your grates can not only make them look bad but also affect how your food cooks and potentially flake off into your meals. A little bit of oil goes a long way in keeping those grates smooth and ready for action next season. It’s a simple way to protect your investment and ensure great results when you fire it up again. For more on keeping your Corten BBQ grill in top condition, check out these essential tips.
Preventing Mold And Mildew Growth
Nobody wants to uncover their grill in the spring only to find fuzzy green or black splotches growing inside. Mold and mildew love damp, organic environments, and a dirty grill can be a prime spot for them to set up shop over the winter. The good news is, it’s pretty straightforward to keep them at bay.
Clean Inside Thoroughly to Remove Organic Matter
Think about all the bits of food, grease, and marinades that can end up inside your grill. This stuff is basically a buffet for mold. Before you even think about covering it up for the season, you need to get all that gunk out. Scrape down the interior walls, get into the corners, and don’t forget the bottom where grease and drippings collect. A good scrub with warm, soapy water usually does the trick. Make sure to rinse well and let it air dry completely.
Ensure Grill Is Dry Before Storage
This is a big one. Moisture is mold’s best friend. Even if you’ve cleaned everything, if there’s any lingering dampness, mold can still find a way to grow. After cleaning, let your grill sit out in the sun for a few hours, or wipe down all interior surfaces with a dry cloth. If you live in a particularly humid climate, consider using a moisture absorber inside the grill, like those little packets you find in shoe boxes, but make sure they’re placed where they won’t be mistaken for something else. You can also find larger moisture absorbers specifically designed for storage spaces. Keeping your grill dry is key to preventing mold and mildew, and it also helps prevent rust on metal parts. For more tips on keeping your grill dry and protected, check out this guide on proper grill storage.
Run Grill on High to Eliminate Residual Mold
If you’re really concerned, or if you’ve had issues with mold in the past, a quick blast of high heat can be a great final step. Once the grill is clean and dry, fire it up on its highest setting for about 15-20 minutes. This will help evaporate any remaining moisture and kill off any microscopic mold spores that might have survived the cleaning. It’s like a little sterilization process for your grill before it goes into hibernation. This also helps to burn off any last bits of residue you might have missed.
Keep Your Grill Ready for Action
So, there you have it. Taking a little time now to properly store and care for your grill means you won’t be kicking yourself later. It’s really not that complicated, just a few steps to keep things clean and protected. Think of it as giving your grill a nice, long nap so it’s ready to go when those warmer days roll around again. A little effort now really does pay off, making sure your grill is in good shape for all the delicious meals to come.
Frequently Asked Questions
How often should I clean my grill?
It’s a good idea to give your grill a good cleaning at the beginning and end of each grilling season. For everyday use, clean the grates after each time you cook. This helps prevent food from sticking and keeps your grill working well.
What’s the best way to clean grill grates?
After you’ve finished cooking and the grates are still warm, use a sturdy grill brush to scrub off any food bits. For really tough stuff, you can soak them in hot, soapy water. If you have cast-iron grates, dry them well and put on a light coat of vegetable oil to stop them from rusting.
How do I prevent rust on my grill?
To keep rust away, especially during the off-season, clean your grill thoroughly. After cleaning, put a thin layer of vegetable oil on the grates and any metal parts. Storing your grill in a dry, covered spot also makes a big difference.
Where is the best place to store my grill in the winter?
The best spot is somewhere dry and covered, like a garage or shed. If you have to keep it outside, make sure it’s off the ground and protected by a good quality grill cover. This keeps rain, snow, and dirt from getting to it.
What should I do with my propane tank for the winter?
Never store a propane tank inside your house or garage! Always disconnect it from the grill and store it upright in a well-ventilated outdoor area, away from any heat sources or flames.
Can I leave my grill outside all year?
You can, but it’s much better to protect it. Using a durable grill cover is essential if it stays outside. This shields it from weather, dirt, and even critters looking for a winter home. Keeping it clean inside and out is key.
What if I find mold in my grill in the spring?
Don’t worry too much. Scrape off any visible mold. Then, fire up your grill and let it run on high heat for at least 15 minutes. This high heat will help kill off any remaining mold spores and clean the inside.
Do I need to clean the inside of my grill?
Yes, it’s important to clean out grease and food bits from the inside. This not only helps prevent rust and mold but also stops unwanted guests like mice from making a home in your grill over the winter.