
Keeping your smoker in good shape is pretty important if you want to make awesome barbecue. It’s not just about making it look nice; it actually affects how your food tastes and how long the smoker lasts. Think of it like taking care of any tool you use a lot. A little bit of smoker maintenance tips can go a long way. We’ll cover the basics, from cleaning up after a cook to giving it a good deep clean and making sure it’s seasoned right. This will help you get the best flavor and keep your smoker running smoothly for years.
Key Takeaways
- Regular cleaning after each use prevents grease and ash buildup, which can affect flavor and cause rust.
- Deep cleaning, including a clean burn and degreasing, is needed periodically to remove stubborn residue and maintain performance.
- Addressing rust spots with sandpaper or steel wool and applying high-temperature paint can save your smoker’s exterior.
- Re-seasoning your smoker by applying oil and running it at a high temperature restores its protective layer and prevents rust.
- Having the right tools, like scrapers, brushes, and protective gear, makes smoker maintenance much easier and safer.
Understanding Why Smoker Maintenance Matters
So, you’ve got a smoker, and you love that low-and-slow, smoky goodness. But have you ever stopped to think about what goes on inside that metal box between cooks? It’s not just about making your brisket tender; keeping your smoker in good shape is actually a pretty big deal for a few reasons. Ignoring it can lead to some not-so-great outcomes, and honestly, nobody wants that.
Impact on Flavor and Food Quality
This is probably the most direct reason to keep your smoker clean. When you cook, especially at the lower temperatures smokers use, grease, carbon, and smoke by-products build up. Think of it like a greasy film and soot coating everything inside. If you don’t clean this out, bits of old, burnt grease and gunk can flake off onto your food. This doesn’t just look unappetizing; it can make your food taste bitter or just plain off. You spent good money on quality meat and wood; don’t let a dirty smoker ruin it. A clean smoker produces clean smoke, which is key to that pure, delicious smoky flavor you’re aiming for. Dirty smoke, on the other hand, can make even the best cuts taste like an ashtray.
Ensuring Smoker Durability and Longevity
Smokers are an investment, right? You want that thing to last. Grease and creosote buildup aren’t just flavor-killers; they’re also corrosive. Over time, this gunk can eat away at the metal, leading to rust and weakening the structure of your smoker. Regular cleaning helps prevent this, keeping the metal sound and your smoker working well for years to come. It’s like giving your smoker a good bath to keep it from getting sick and falling apart.
Achieving Consistent Cooking Performance
When your smoker is caked with old grease and debris, it can affect how it heats and smokes. Uneven surfaces can lead to hot spots or areas where smoke doesn’t flow properly. A clean, well-maintained smoker heats more evenly and produces a more consistent smoke output. This means your food cooks more predictably, and you get those beautiful, consistent results every time you fire it up. It helps maintain steady temperatures, which is pretty important when you’re trying to nail that perfect cook.
Think of your smoker like a musical instrument. If it’s out of tune or dirty, it’s not going to sound or perform its best. Regular cleaning and upkeep are like tuning and polishing your instrument so it can create beautiful music – or in this case, delicious barbecue.
Routine Cleaning After Every Cook
Alright, so you’ve just finished a smoking marathon, and the smell of delicious food is still in the air. Before you kick back and relax, a little bit of cleanup will go a long way in keeping your smoker in top shape. Doing this quick clean after each use prevents gunk from building up and making your life harder later. It’s not a huge chore, honestly, and it makes a big difference.
Removing Ash and Debris
First things first, let that smoker cool down completely. Seriously, don’t try to scoop out hot ashes – that’s a recipe for disaster. Once it’s cool, grab a brush or a small shop vac and get rid of all the ash and leftover bits from the firebox or burn pot. Ash can hold moisture, and that’s bad news for metal, leading to rust. It’s best to put the cooled ashes into a metal container with a lid.
Wiping Down Surfaces
Next, take a damp cloth and give the inside surfaces a quick wipe-down. You’re not looking for a deep scrub here, just getting rid of any loose bits or minor spills. If you had any sauces or marinades drip, now’s the time to wipe them up before they get baked on. This also helps keep the inside looking tidy and ready for your next cook. For a more thorough clean after a few uses, you might want to preheat the smoker to around 400 degrees Fahrenheit to loosen residue before scraping [bb4e].
Cleaning Cooking Grates
Your cooking grates probably have some food bits stuck to them. A good way to handle this is to use a stiff brush or even a ball of aluminum foil to scrape off the larger pieces. If your grates are dishwasher safe, that’s an easy option. Otherwise, a good scrub with soap and water will do the trick. Clean grates mean food won’t stick as much next time you fire up the smoker.
A little bit of attention after each cook prevents bigger headaches down the road. Think of it as giving your smoker a quick spa treatment so it’s always ready for action.
Here’s a quick rundown:
- Let the smoker cool completely.
- Remove ash and debris from the firebox.
- Wipe down interior surfaces with a damp cloth.
- Scrape and clean cooking grates.
- Dispose of ashes in a metal container.
Deep Cleaning Your Smoker
Sometimes, your smoker needs more than just a quick wipe-down. A deep clean is in order after a lot of use or if it’s been sitting around for a while. This isn’t just about looks; it’s about making sure your smoker performs its best and keeps your food tasting great.
Performing a Clean Burn
Before you get your hands dirty with scrapers and brushes, consider a clean burn. This is like giving your smoker a mini-furnace treatment. You’ll want to load up your fuel, open the vents wide, and let it run hot. This process helps to char and loosen up a lot of that stubborn gunk and residue inside the cooking chamber. Make sure your smoker is in a safe spot, away from anything flammable, and keep an eye on it the whole time. Once it’s completely cooled down, you can move on to the next steps. It makes the rest of the cleaning job much easier.
Washing and Degreasing Interior Surfaces
After the clean burn, it’s time to tackle the interior. Grab some warm water and a good degreaser. You can use a dedicated smoker cleaner or even a strong dish soap. Use a sponge or cloth to wash down all the interior surfaces, paying attention to any areas where grease has built up. After you’ve scrubbed everything down, rinse it thoroughly with clean water. Then, just leave the lid open and let it air dry completely. This step gets rid of the loose stuff and prepares the surfaces for any tougher spots.
Scraping Away Buildup
Now for the satisfying part: scraping. You’ll want a good scraper, maybe a putty knife or a dedicated smoker scraper. Start by scraping away any thick, carbonized buildup from the walls, lid, and bottom of the cooking chamber. Don’t forget the drip pan and any heat deflectors – these spots often collect a lot of gunk. If you have a chimney, a stiff brush can help clear out any creosote or debris that’s accumulated there. Collect all the scraped-off bits and dispose of them properly. This gets rid of the hardened residue that washing alone can’t handle.
Addressing Rust and Corrosion
Rust happens. It’s a fact of life when you’re dealing with metal and the outdoors, especially with smokers that get exposed to heat, moisture, and sometimes, just sitting around. But don’t let a little orange creep ruin your smoker’s day. Tackling rust early keeps your smoker looking good and working right.
Identifying and Removing Rust Spots
First things first, you gotta find the rust. Look for those reddish-brown patches, especially on the exterior and around seams or joints. Sometimes, it’s just a light dusting, other times it’s a bit more serious. For minor spots, a good old-fashioned scrub with steel wool or a stiff wire brush usually does the trick. You want to get down to bare metal, so be thorough. If you’ve got thicker rust, you might need something a bit more aggressive, like a paint scraper to lift off the bulk of it before you hit it with the brush.
Using Sandpaper and Steel Wool
Once you’ve scraped away any loose bits, it’s time for the finer work. Grab some sandpaper, maybe in the 80-120 grit range to start, and really work those rusty areas. You’re aiming to smooth out the metal and remove any remaining traces of corrosion. Follow up with finer grit sandpaper or steel wool to get a nice, clean surface. For really stubborn spots, you might need to repeat this process a couple of times. It’s a bit of elbow grease, for sure, but it’s worth it.
Applying High-Temperature Paint
After you’ve gotten all the rust off and the metal is clean and dry, you need to protect it. If the rust was on the outside, a coat of high-temperature grill or smoker paint is your best bet. Make sure you get a paint specifically designed for this kind of heat. Apply it in thin, even coats, following the manufacturer’s instructions. This creates a barrier that helps prevent rust from coming back. For interior rust spots, the re-seasoning process we’ll talk about later will help seal those areas up.
Don’t ignore rust, even small spots. Left unchecked, it can spread and weaken the metal over time, making repairs harder and potentially affecting your smoker’s performance. A little attention now saves a lot of trouble later.
The Importance of Re-Seasoning
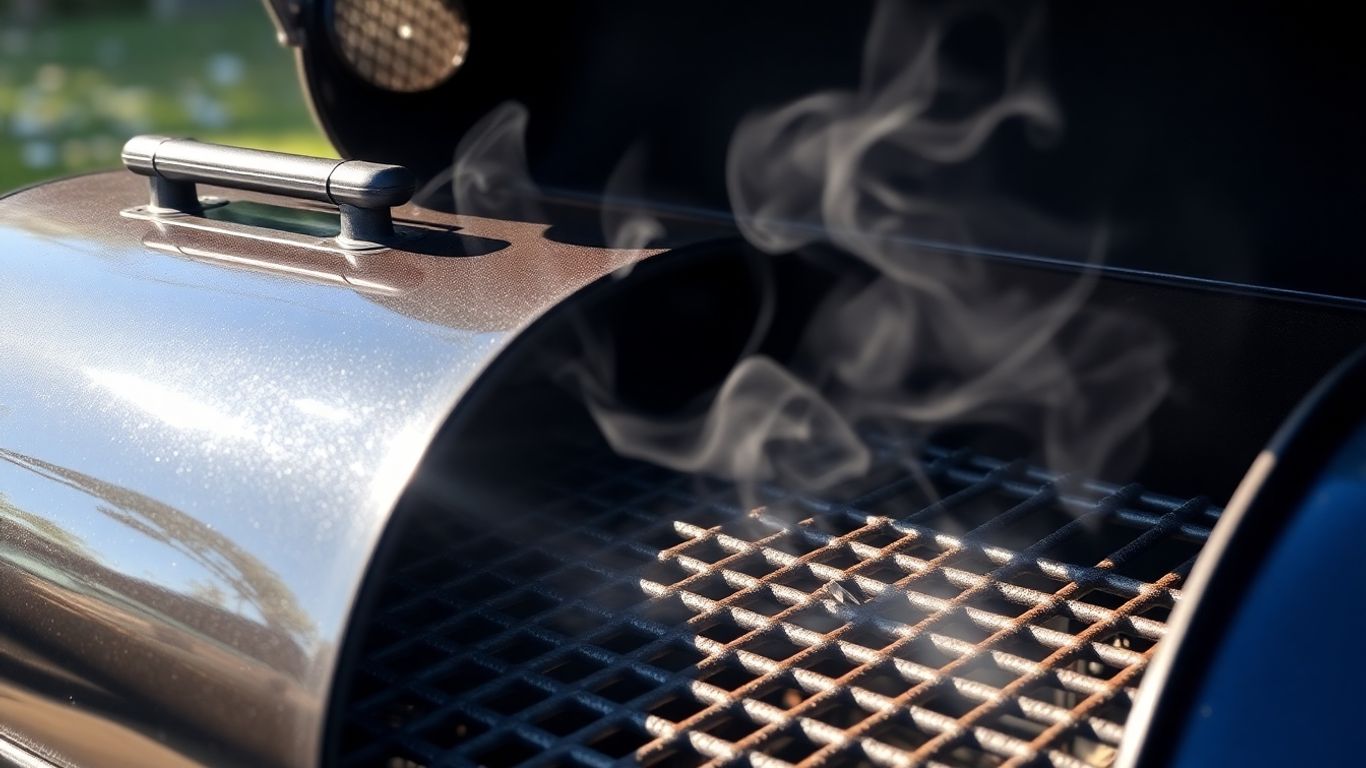
Think of re-seasoning your smoker like giving it a fresh coat of protective paint. Over time, especially after deep cleaning or if your smoker has been sitting idle for a while, that protective layer can wear down. This isn’t just about looks; it’s about keeping your smoker in good working order and preventing rust from taking hold. Re-establishing this barrier helps keep your smoker performing well and lasting longer.
When to Re-Season Your Smoker
There are a few key times when you’ll want to give your smoker a good re-seasoning.
- After a Deep Clean: If you’ve scrubbed down the interior surfaces, especially if you used strong cleaners or had to scrape away a lot of buildup, you’ve likely removed some of the existing seasoning.
- After Storing for a Long Period: If your smoker has been tucked away for the winter or any extended break, dust and moisture can settle in, and it’s a good idea to refresh that protective layer.
- When You Notice Rust: If you’ve dealt with rust spots on the interior, re-seasoning is the final step to help seal up those areas.
- When Cooking Performance Changes: If you notice your smoker isn’t holding heat as well or the smoke seems off, a re-seasoning might be in order.
Applying Cooking Oils or Fats
For this process, you’ll want a high-heat cooking oil or fat. Common choices include:
- Vegetable Oil: The cheapest spray oil works just fine.
- Lard or Tallow: These animal fats have a high smoke point and are traditional choices.
- Other High-Temp Oils: Canola, grapeseed, or peanut oil are also good options.
Simply wipe a thin, even coat of your chosen oil or fat all over the interior surfaces of the smoker – the walls, the lid, the floor, and even the grates if they’re looking a bit dry. Don’t go too heavy; a light sheen is all you need. Too much oil can lead to a sticky mess.
Running a Seasoning Cycle
Once you’ve applied the oil, it’s time to bake it on. Here’s how:
- Preheat: Light your smoker and bring the temperature up to around 300-350°F (150-175°C). If your smoker has a lower maximum temperature, just use that.
- Maintain Heat: Let the smoker run at this temperature for about 2-3 hours. This high heat allows the oil to polymerize, creating that hard, protective layer.
- Cool Down: After the time is up, turn off the smoker and let it cool down completely.
Re-seasoning isn’t just a one-time thing for new smokers. It’s a maintenance step that keeps your equipment in top shape, preventing rust and ensuring your food always tastes like smoke, not old grease. It’s a simple process that makes a big difference in the long run.
After this cycle, your smoker should have a nice, refreshed finish, ready for its next cook.
Essential Tools for Smoker Cleaning
Keeping your smoker in good shape means having the right gear. You don’t need a whole workshop, but a few key items will make the job much easier and more effective. Having these tools on hand means you can tackle cleaning tasks quickly and get back to what really matters: smoking delicious food.
Scrapers and Brushes
When it comes to scraping away built-up grease, carbon, and ash, a good scraper is your best friend. For the interior surfaces, a putty knife or a dedicated smoker scraper works well. Just be gentle to avoid scratching the metal. For tougher spots or the grates, a stiff wire brush or a grill brush is perfect for scrubbing away stubborn residue. Don’t forget a smaller brush, like an old toothbrush or a dedicated chimney brush, for those hard-to-reach nooks and crannies.
Cleaning Solutions and Cloths
While hot water and a bit of elbow grease can do a lot, sometimes you need a little extra help. A good degreaser is helpful for cutting through thick grease. For general wiping and drying, you’ll want plenty of clean rags or shop towels. Microfiber cloths are great for polishing the exterior without scratching. For the grates, dish soap can often do the trick, especially if you can soak them first.
Protective Gear
Cleaning a smoker can get messy, so protecting yourself is important. Always wear a pair of sturdy rubber gloves to keep your hands clean and protected from grease and cleaning solutions. If you’re doing a deep clean or dealing with a lot of dust and debris, consider wearing safety glasses to protect your eyes. A simple dust mask can also be a good idea if you’re working in an enclosed space or dealing with a lot of ash.
Remember, a clean smoker not only cooks better but also lasts longer. Neglecting regular cleaning can lead to rust, poor performance, and even safety hazards like grease fires. Think of cleaning as an investment in your smoker’s future and the quality of your food.
Seasonal Smoker Care
When your smoker isn’t getting fired up as often, like during the colder months or after a long break, it needs a little extra attention. Think of it as tucking it in for a nap. Proper seasonal care prevents rust and keeps everything working right for when you’re ready to smoke again.
Preparing for Winter Storage
Before you cover up your smoker for an extended break, give it a good once-over. This isn’t a full deep clean, but more of a tidy-up to prevent problems down the road.
- Empty the Ash: Make sure all the ash is out. Ash can hold moisture, and that’s a fast track to rust.
- Wipe Down: Give the interior and exterior a good wipe-down with a damp cloth. Get rid of any lingering grease or food bits. If you have a removable drip pan, clean that out too.
- Lightly Oil: Apply a very thin coat of cooking oil (like vegetable or canola) to the interior surfaces and grates. This creates a barrier against moisture.
- Check for Critters: Look for any signs of unwelcome guests like spider webs or nests. Clear them out.
Storing your smoker in a dry place, ideally under a breathable cover, is key. Avoid plastic tarps that can trap moisture and actually make things worse.
Post-Storage Smoker Check
After your smoker has been sitting idle, it’s time for a quick check before you fire it up for that first spring cook.
- Inspect for Rust: Give the whole smoker a good look for any rust spots that might have popped up. Small spots can often be buffed out with steel wool. If you find any, give them a quick touch-up with high-temperature paint if they’re on the exterior.
- Clean the Grates: Even with the light oiling, give the grates a good scrub or wipe-down. You want a clean surface for your food.
- Re-Season (If Needed): If you notice any rust or if the interior looks a bit dry, it’s a good idea to do a quick re-seasoning. Apply a thin layer of cooking oil all over the inside and run the smoker at a moderate temperature (around 300°F or 150°C) for an hour or two. This refreshes that protective layer.
Smoker Maintenance Tips for Optimal Performance
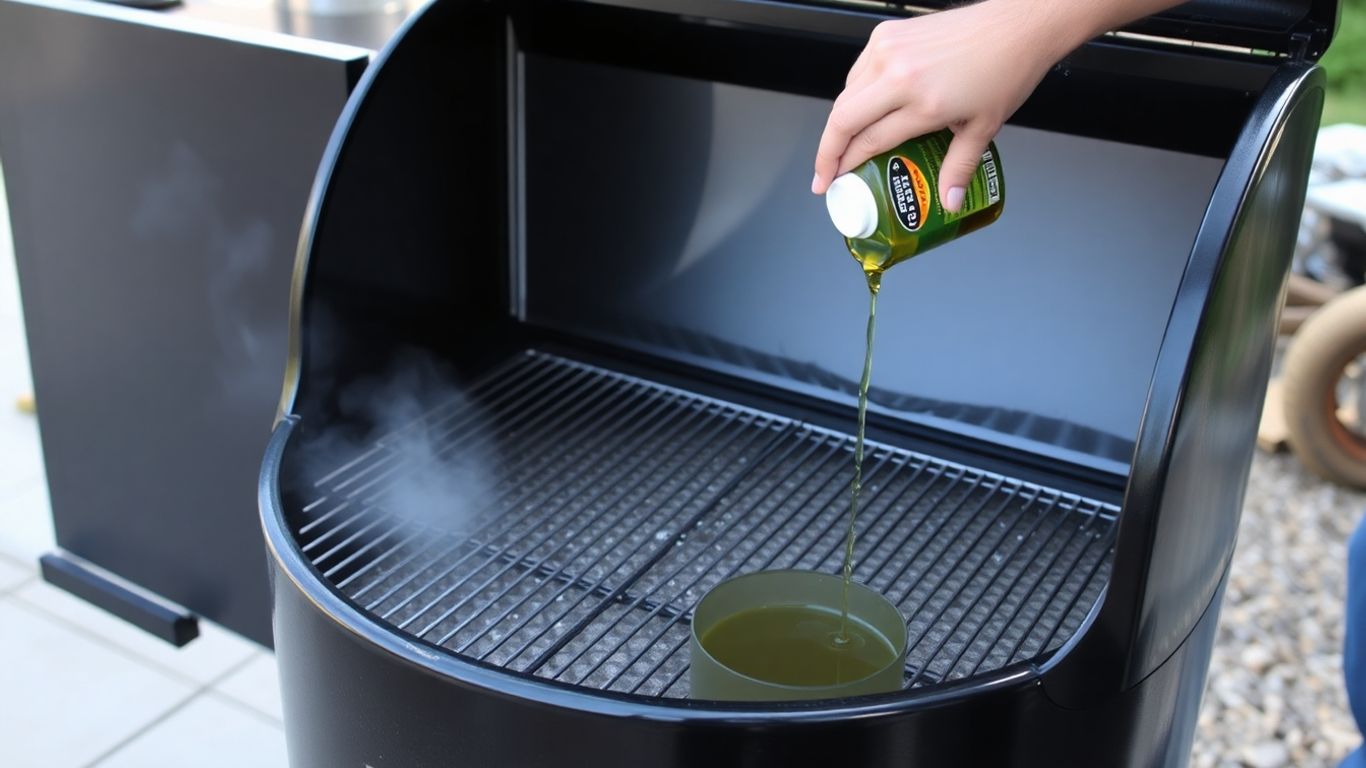
Keeping your smoker in top shape isn’t just about making it look good; it’s about making sure every cook turns out perfectly. A well-maintained smoker means better flavor, more consistent temperatures, and a longer lifespan for your equipment. Let’s talk about a few things that really make a difference.
Checking Thermometer Calibration
Your smoker’s thermometer is your eyes and ears when it comes to temperature control. If it’s off, your whole cook can go sideways. It’s pretty easy to check if it’s reading accurately. Grab a pot of boiling water and stick the thermometer’s probe right into it. It should read 212°F (100°C) if you’re at sea level. Most thermometers have a little nut on the back that you can turn to adjust the reading. Do this every so often, especially if you notice your food isn’t cooking quite right.
Keeping Gaskets and Seals Clean
Those rubber or felt gaskets around your smoker’s door and lid are super important for keeping the heat and smoke inside where they belong. When they get caked with grease and gunk, they don’t seal as well. This means you’re losing heat, and your smoker has to work harder to maintain the temperature. After each cook, give them a quick wipe-down with a damp cloth. If there’s some stubborn residue, a little bit of mild cleaner can help, but make sure to rinse it off well.
Preventing Grease Fires
This is a big one, folks. Grease buildup inside your smoker is a fire hazard. When that grease ignites, it can cause a flare-up that’s hard to control and can ruin your food, or worse, damage your property. Regular cleaning, especially of the drip pans and the bottom of the smoker, is your best defense. Always make sure your smoker is placed on a stable, non-combustible surface away from anything flammable.
A clean smoker is a safe smoker. Don’t let grease and ash build up. It’s not just about flavor; it’s about preventing dangerous situations that can ruin your day and your equipment.
Keep That Smoker Rolling
So there you have it. Keeping your smoker clean and seasoned might seem like a chore, but honestly, it’s not that bad once you get into a rhythm. Think of it like any other tool you own – a little care goes a long way. A well-maintained smoker not only lasts longer but also makes your food taste way better. No one wants burnt, off-tasting meat because the smoker was full of gunk. So, next time you’re done cooking, take those few extra minutes to scrape out the ash, wipe down the surfaces, and maybe give it a quick re-season. Your taste buds, and your smoker, will thank you for it.
Frequently Asked Questions
Why is cleaning my smoker so important?
Cleaning your smoker is super important because it keeps your food tasting great. When grease and old food bits build up, they can make your next meal taste burnt or yucky. Plus, a clean smoker lasts longer and works better, giving you that perfect smoky flavor every time.
How often should I clean my smoker?
You should do a quick clean after every time you use it, just to wipe away ash and grease. A deeper clean is needed maybe once or twice a year, or whenever you notice a lot of gunk building up. If you use it a lot, you might need to clean it more often.
What’s the deal with ‘seasoning’ a smoker?
Seasoning is like giving your smoker a protective coating. You do this by heating it up with oil inside. This helps prevent rust and makes the smoker’s surface non-stick, which is good for cooking and keeps it in shape for a long time.
When do I need to re-season my smoker?
You should re-season your smoker after a really deep cleaning, if you notice rust spots, or if it’s been stored for a long time. It’s basically renewing that protective layer that keeps it working well and prevents rust.
What are the best tools for cleaning a smoker?
You’ll want some basic stuff like a stiff brush or scraper to get rid of gunk, some rubber gloves to protect your hands, and maybe some cloths or paper towels. For rust, sandpaper or steel wool works wonders, and high-heat paint can fix it up afterward.
Can I use regular soap to clean my smoker?
For the grates, a little soap is usually okay, but for the inside of the smoker, it’s often better to use warm water and a degreaser. You don’t want to scrub away the ‘seasoning’ that protects the metal. Always rinse well and let it dry completely.
What if I find rust on my smoker?
Don’t panic! You can usually get rid of rust spots by scrubbing them with steel wool or sandpaper. After you’ve removed the rust, it’s a good idea to re-season the spot with cooking oil and then maybe even spray it with high-temperature paint if it’s on the outside.
How does a dirty smoker affect the taste of my food?
A dirty smoker can create ‘dirty smoke.’ This happens when old grease and gunk burn and create thick, black smoke. This bad smoke can make your delicious meat taste bitter and unpleasant, ruining your barbecue.