
Hey everyone! So, I’ve been getting into BBQ lately, and let me tell you, it’s not as easy as those TV chefs make it look. I’ve definitely had my share of burnt burgers and undercooked chicken. It turns out there are a lot of common BBQ mistakes people make without even realizing it. I did some digging to figure out what those are and, more importantly, how to avoid them so your next cookout is a hit. Let’s get into it!
Key Takeaways
- Always preheat your grill for 10-15 minutes before cooking to prevent sticking and ensure even heat.
- Don’t overcrowd the grill; give your food space for proper heat circulation and to avoid flare-ups.
- Resist the urge to constantly flip your meat. Let it sear to develop a good crust and lock in juices.
- Let your meat rest for at least 10 minutes after cooking. This allows the juices to redistribute, making it more tender and juicy.
- Apply BBQ sauce in the last 15-20 minutes of cooking to prevent it from burning.
1. Not Preheating the Grill
So, you’ve got your grill all fired up, coals glowing, and you’re ready to get cooking. But wait! Did you actually let the grill get hot before you put the food on? This is a super common mistake, and honestly, it’s a pretty big one. Putting food on a cold grill is a recipe for sticking. When the grates aren’t hot, the proteins in your meat essentially bond with the metal. It’s like they’re saying,
2. Overcrowding the Grill
It’s tempting, I know. You’ve got a bunch of hungry people waiting, and you want to get everything on the grill at once. But seriously, resist the urge. Packing your grill too tightly is a recipe for unevenly cooked food. When you cram too much meat or veggies onto those grates, you block the airflow. This means some spots will get way too hot while others barely get any heat at all. You end up with a mix of burnt bits and undercooked centers, which is just disappointing for everyone.
Think about it like this:
- Heat Circulation: Grills need space for heat to move around. Overcrowding creates cold spots and hot spots that are hard to manage.
- Searing: Proper searing happens when the meat has direct contact with hot grates and can develop a nice crust. Too much stuff on the grill means less direct contact and less searing.
- Flare-ups: When fat drips onto hot coals or burners, it causes flare-ups. If your grill is packed, there’s nowhere for that fat to go but down, potentially causing more flare-ups and burning your food.
Aim to leave about an inch or two of space between each item you place on the grill. This might mean you have to cook in batches, but trust me, the results will be much better. You’ll get that beautiful char and even cooking that makes grilling so great.
So, next time, plan your grill space. If you’re cooking a lot, consider using a two-zone cooking setup or just accept that you might need to do a second round. Your taste buds will thank you.
3. Constantly Flipping the Meat
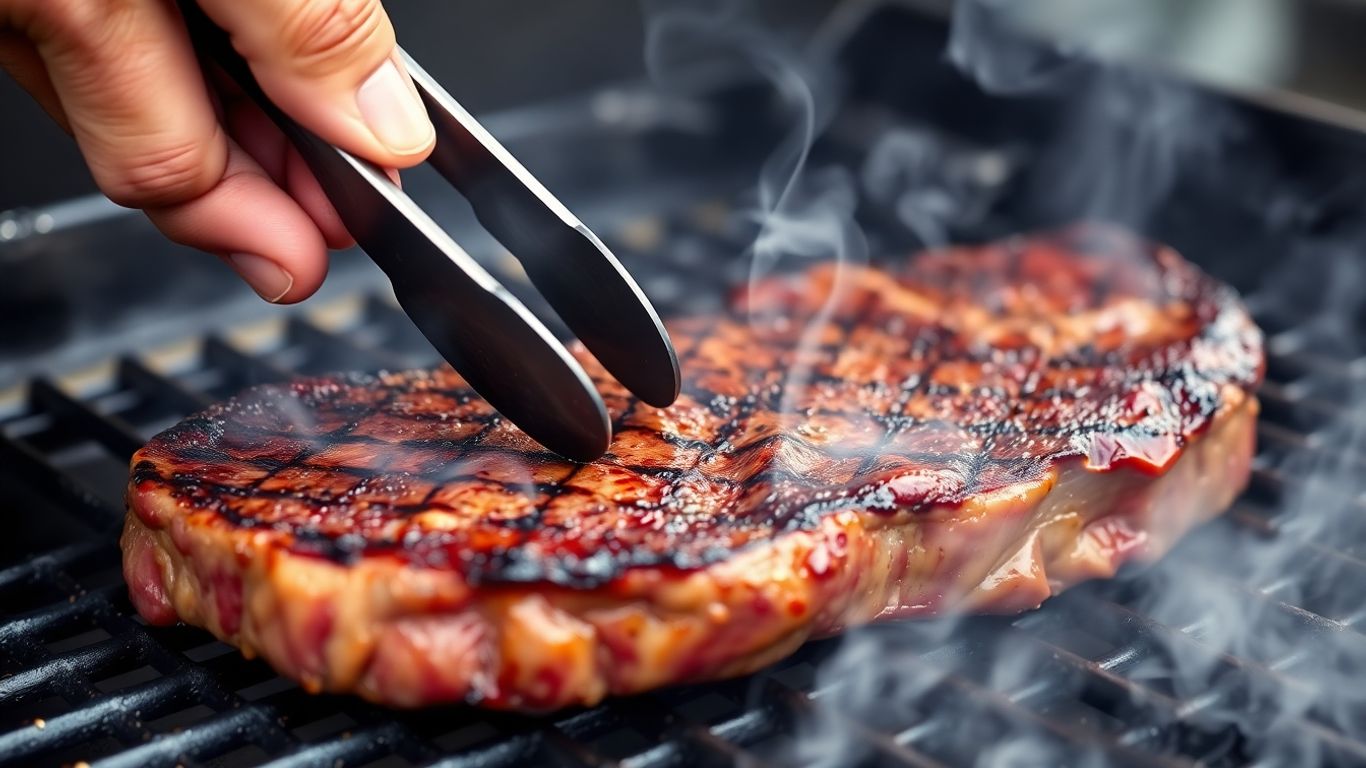
It’s tempting, I know. You’ve got this beautiful piece of meat on the grill, and you just want to check on it, maybe give it a little nudge. But resist the urge to flip it every few minutes. Constantly moving your food around prevents a good crust from forming, which is where a lot of that delicious flavor is locked in. Think of it like this: you’re interrupting the searing process before it can really do its job.
When you flip food too often, you’re essentially just steaming it rather than grilling it. Each time you turn that burger or steak, you’re letting heat escape from the grill, which messes with the cooking temperature. Plus, you’re not giving either side enough time to develop that nice, caramelized exterior that we all love. For most items, especially steaks and burgers, letting them cook undisturbed for a few minutes on each side is the way to go. This allows for even cooking and that sought-after char. Our experts recommend flipping your steak only once for the best exterior, and this method helps achieve optimal results when cooking steak.
Here’s a quick rundown on how often to flip:
- Steaks: Aim for one flip. Let one side get a good sear, then flip and repeat.
- Burgers: Similar to steaks, avoid excessive flipping. Give them a few minutes per side.
- Chicken Pieces: These might need a few more turns than steaks, but still, avoid constant fiddling. Look for a nice golden-brown color before flipping.
Patience is really the name of the game here. Let the grill do its work without your constant interference. You’ll be rewarded with better texture and more flavor.
4. Not Letting Meat Rest
So, you’ve pulled that beautiful piece of meat off the grill. It looks amazing, smells even better, and you’re ready to dig in. Hold on just a second! If you cut into it right away, all those delicious juices you worked so hard to keep inside are just going to run out onto the cutting board. That means drier, less flavorful meat. Giving your meat a little time to rest after cooking is super important.
Think of it like this: when meat cooks, the juices get pushed towards the center. Resting lets those juices calm down and spread back out evenly through the whole cut. This makes it way more tender and juicy. It’s not a complicated step, but it makes a big difference.
Here’s a general guide for resting times:
- Steaks and Chops: 5-10 minutes
- Roasts and Larger Cuts: 15-20 minutes
- Whole Poultry: 10-15 minutes
You can keep your meat warm while it rests by tenting it loosely with foil. Don’t wrap it too tightly, or it will steam and lose that nice crust you got from the grill.
It might feel like forever when you’re hungry, but trust me, the wait is worth it for that perfect, juicy bite.
5. Ignoring the Lid
It might seem obvious, but keeping the lid on your grill is a pretty big deal. Think of it like an oven; you wouldn’t keep opening an oven door while baking a cake, right? The same principle applies here. Every time you lift that lid, you’re letting out precious heat and smoke.
When you’re grilling, especially with charcoal, lifting the lid lets in oxygen. This can make your coals burn hotter and faster, potentially scorching your food. On a gas grill, opening the lid causes a significant temperature drop, meaning your food cooks slower and less evenly. It’s a simple action, but it really messes with the temperature control you’ve worked so hard to establish.
Here’s a quick rundown on when to keep it closed:
- Indirect Cooking: When you’re cooking larger cuts like chicken, ribs, or pork shoulder, you want that gentle, even heat. Closing the lid creates a convection oven effect, circulating heat around the food.
- Smoking: If you’re aiming for that deep, smoky flavor, the lid is your best friend. It traps the smoke, allowing it to infuse into the meat.
- Temperature Stability: For consistent cooking, whether you’re aiming for low and slow or a steady medium heat, keeping the lid down is key to maintaining that target temperature.
The lid isn’t just a cover; it’s a tool. It helps manage heat, control airflow, and trap smoke, all of which are vital for great barbecue. Resist the urge to peek too often – your food will thank you for it.
So, next time you’re tempted to lift the lid for a quick check, remember that patience is a virtue, and a closed lid is often the secret ingredient to perfectly cooked barbecue.
6. Using Lighter Fluid
Okay, let’s talk about getting that charcoal going. It’s tempting, I know, to just grab that familiar blue bottle of lighter fluid and give your coals a good soak. It seems like the quickest way to get to the good stuff – the grilling. But here’s the thing: that fluid can leave a nasty chemical aftertaste on your food. You might think you’ve burned it all off, but that gasoline-like flavor can really sneak into your burgers and chicken, and trust me, it’s not a good look (or taste).
The real problem is that lighter fluid imparts a distinct chemical flavor that no amount of cooking can fully eliminate.
So, what’s the better way? It’s all about patience and the right tools. A chimney starter is your best friend here. You just put some crumpled newspaper or a starter cube in the bottom, fill the top with charcoal, light the paper, and let the magic happen. The design pulls air through the coals, getting them lit evenly and efficiently without any weird additives.
Here’s why a chimney starter is the way to go:
- No Chemical Taste: Your food will taste like delicious grilled meat, not a gas station.
- Even Lighting: It ensures all your coals get hot and ready at the same time.
- Faster & Safer: It lights coals quickly and safely, without the risk of a huge flare-up from too much fluid.
It might take a few extra minutes compared to dousing everything in fluid, but the payoff is huge. You’ll get perfectly lit coals and, more importantly, food that tastes amazing, not like a science experiment.
7. Cooking at the Wrong Temperature
This is a big one, and honestly, it trips up a lot of people. You get your grill fired up, you’re excited to get that meat on there, but you haven’t really thought about how hot it should be. Too high, and you’ll get a burnt exterior with a raw, sad middle. Too low, and you’ll end up with pale, rubbery food that just never seems to cook through.
Different foods need different heat levels. You wouldn’t cook a delicate fish fillet the same way you’d cook a thick pork shoulder, right? It’s all about managing those temperatures.
Here’s a quick guide:
- High Heat (450-500°F): Great for searing steaks, burgers, and chops. You want that quick, intense heat to get a nice crust.
- Medium-High Heat (400-450°F): Good for chicken pieces, sausages, and thicker cuts of fish. It gives you a good sear without burning too fast.
- Medium Heat (350-400°F): Perfect for larger roasts, whole chickens, or vegetables that need a bit more time to cook through.
- Low Heat (250-300°F): Ideal for indirect cooking, smoking, or when you want to gently cook something without direct flame.
Using a reliable grill thermometer is your best bet. Don’t just guess. Knowing the actual temperature inside your grill takes the guesswork out of it and makes a huge difference in the final outcome. It’s like having a secret weapon for perfectly cooked food every time.
8. Ignoring Your Grill’s Hot Spots
You know, it’s easy to just throw everything on the grill and assume it’ll all cook evenly. But here’s the thing: most grills, whether they’re gas or charcoal, have areas that get way hotter than others. These are your grill’s hot spots. If you don’t pay attention, you’ll end up with some perfectly cooked pieces and some that are practically charcoal, while others are still pretty raw. It’s a real bummer when that happens.
The key is to understand your grill’s unique heat map.
So, how do you figure out where these hot spots are? It’s not rocket science. A simple way is to do a little test. Lay out some slices of bread on the grill grates, close the lid, and let them toast for a few minutes. Then, check them out. The darker the toast, the hotter that part of the grill is. You can also just pay close attention to how your food cooks each time you grill. See where things are browning faster or burning.
Here’s what you can do about it:
- Rotate your food: Don’t just let things sit in one place. Move pieces around the grill as they cook. If something is cooking too fast in a hot spot, shift it to a cooler area. Conversely, if something needs more heat, move it to a hotter zone.
- Use different heat zones: If you have a gas grill, you can often control different burners independently. Use this to your advantage by creating a hot zone and a cooler zone. For charcoal grills, you can arrange your coals to one side for a similar effect. This lets you sear over high heat and then move food to a cooler spot to finish cooking without burning.
- Adjust cooking times: Be prepared to pull items off the grill at different times. Don’t wait for the last piece of chicken to be done if the first piece is already perfectly cooked and starting to look a little too done.
It’s all about managing the heat. Think of your grill like a stovetop with burners that have different temperatures. You wouldn’t just leave a pot on one burner the whole time if it was cooking unevenly, right? Same idea applies here. A little bit of awareness goes a long way in making sure everything you grill comes out tasting great, not just some of it.
Learning to work with your grill’s hot spots, rather than against them, will make a huge difference in your results. It takes a bit of practice, but soon you’ll be instinctively knowing where to place your food for the best outcome. You can find more tips on managing grill temperatures at your grill’s manual.
9. Saucing Too Soon
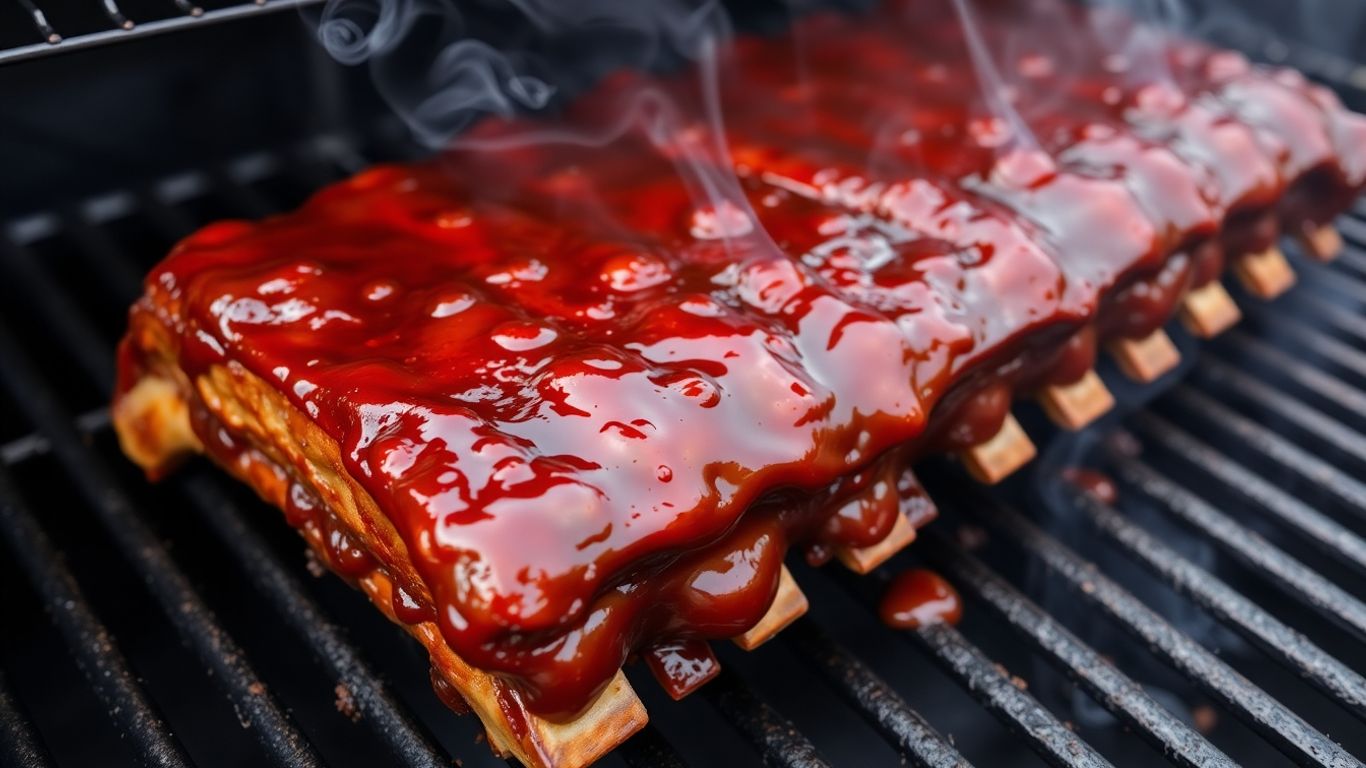
You know that sticky, sweet, and tangy BBQ sauce you love? Well, it can be your worst enemy if you put it on the meat too early. Most of these sauces are loaded with sugar, and sugar, as you probably know, burns. When that sauce hits the hot grill grates too soon, it caramelizes, then it turns into a bitter, black char. It’s a real bummer when you’ve spent hours tending the fire, only to have your masterpiece ruined by a burnt glaze.
The key is to treat your sauce like a finishing touch, not a marinade. Think of it as the final coat of paint, not the primer. Adding it too early means the sugars have too much time to cook and burn, leaving you with a bitter taste that no amount of extra sauce can fix.
So, when should you actually apply the sauce? Aim for the last 15 to 20 minutes of your cooking time. This gives the sauce enough time to heat up, thicken a bit, and adhere to the meat without turning into charcoal. If you’re doing something low and slow, like ribs, you might even wait until the very end, or just brush it on during the last 10 minutes.
Here’s a quick rundown:
- Sweet Sauces: These burn the fastest. Apply them in the final 10-15 minutes.
- Vinegar-Based Sauces: These tend to be a bit more forgiving, but still, wait until the last 20 minutes.
- Glazes: Similar to sweet sauces, treat them as a final layer.
It’s tempting to slather on that sauce and let it bake on, thinking it’s adding more flavor. But in reality, you’re just setting yourself up for a burnt mess. Patience is definitely a virtue when it comes to BBQ sauce.
10. Not Cleaning the Grill After Use
It’s really easy to just walk away after a great BBQ session, especially when you’re tired and maybe had a beer or two. But skipping the grill cleaning is a big miss. Those leftover bits of food and grease aren’t just unsightly; they’re a problem waiting to happen.
Leaving gunk on your grates means your next meal is likely to stick, making for a messy removal and potentially leaving half your food behind. Plus, old grease can build up and become a fire hazard. It’s like setting yourself up for failure on your next cookout.
Here’s why it matters and what to do:
- Food Sticking: Burnt-on food particles create a rough surface that grabs onto your meat. This makes flipping difficult and can tear your food.
- Flavor Contamination: Old grease and burnt bits can impart a bitter or acrid taste to your fresh food. You want your BBQ to taste like delicious smoky goodness, not last week’s burnt burgers.
- Flare-ups and Fires: Accumulated grease is highly flammable. A sudden flare-up can ruin your food or, worse, become a dangerous grill fire.
- Rust and Deterioration: For cast iron or porcelain grates, a layer of grime can trap moisture, leading to rust and a shorter lifespan for your grill.
So, what’s the best way to tackle this? Don’t wait until the grill is cold and everything has hardened. The easiest time to clean is right after you’re done cooking, while the grates are still hot. Grab a good grill brush – a three-sided one works wonders for getting into all the nooks. A quick scrub while the residual heat helps loosen everything up is usually all it takes. If you’re really pressed for time, at least give it a quick brush before you put the lid on. Your future self, and your taste buds, will definitely thank you for it.
So, What’s the Takeaway?
Alright, so we’ve gone through a bunch of common BBQ blunders, from forgetting to preheat the grill to slathering on that sauce way too early. It sounds like a lot, but honestly, most of it boils down to a few simple things: patience, paying attention, and giving your food the respect it deserves. Don’t get discouraged if your first few attempts aren’t perfect. Everyone makes mistakes when they’re learning, myself included! Just remember these tips, keep practicing, and you’ll be grilling up a storm of deliciousness in no time. Happy grilling!
Frequently Asked Questions
Why is it important to preheat the grill before cooking?
Preheating your grill is like warming up your oven. It makes sure your food cooks evenly and gets those nice grill marks without sticking. Give it at least 10-15 minutes to get hot before you put any food on it.
What happens if I put too much food on the grill at once?
Overcrowding the grill can cause food to cook unevenly and might lead to flare-ups. It’s best to leave some space between items so the heat can flow around them properly.
How often should I flip my meat on the grill?
Resist the urge to flip your meat constantly! Flipping too much stops a good crust from forming, which is what keeps the juices inside. Usually, flipping once or twice is enough. If it sticks, it’s not ready to be flipped yet.
Why shouldn’t I cut into my meat right after taking it off the grill?
When meat is hot, its juices are pushed to the center. Letting it rest for about 10 minutes after grilling allows the juices to spread back out, making the meat way more tender and juicy.
What’s the big deal about keeping the grill lid closed?
Keeping the lid down helps maintain a steady temperature inside the grill, which means your food cooks more evenly and doesn’t dry out. Plus, it traps the smoke for that delicious grilled flavor.
Is it okay to use lighter fluid to start my charcoal grill?
It’s best to avoid lighter fluid because it can leave a chemical taste on your food. Try using a chimney starter or an electric starter instead.
What’s the best way to control the heat on my grill?
Using a thermometer is key! You can also create different heat zones on your grill – one for searing and one for slower cooking. This helps you cook different foods perfectly.
When is the right time to put barbecue sauce on my food?
Most BBQ sauces have sugar, which can burn easily. It’s best to add sauce during the last 15-20 minutes of cooking, or even after you take the food off the grill, to prevent it from turning black and bitter.